A MongoDB VM (Ubuntu 14.04) is available to complete the service broker lab. The VM is hosted on Amazon Web Services.
1. Requirements
Network connectivity and access to reach the Mongo VM (uses port 27017) from your Pivotal Cloud Foundry environment
2. Installed Software
The software listed below has been installed and configured on the VM:
-
MongoDB - License
3. Provisioning
You can use the following terraform script.
Alternatively, you can provision the VM manually by following these directions:
-
User must have access to an AWS account (can run from any account)
-
User must have an existing key pair in the account or create one
-
Bitnami publishes AWS AMIs for MongoDB. Visit the AWS Marketplace and search for "mongodb" and "bitnami".
-
You should land on this page: https://aws.amazon.com/marketplace/pp/B01M1EBY7B?qid=1494291808884&sr=0-2&ref_=srh_res_product_image. Note the AMI id:
ami-ee2694f8In the left navbar of the EC2 dashboard, under
Images, selectAMIs. Then, to the left of the search bar, changeOwned by MetoPublic images. Search for the above AMI ID. Click Launch.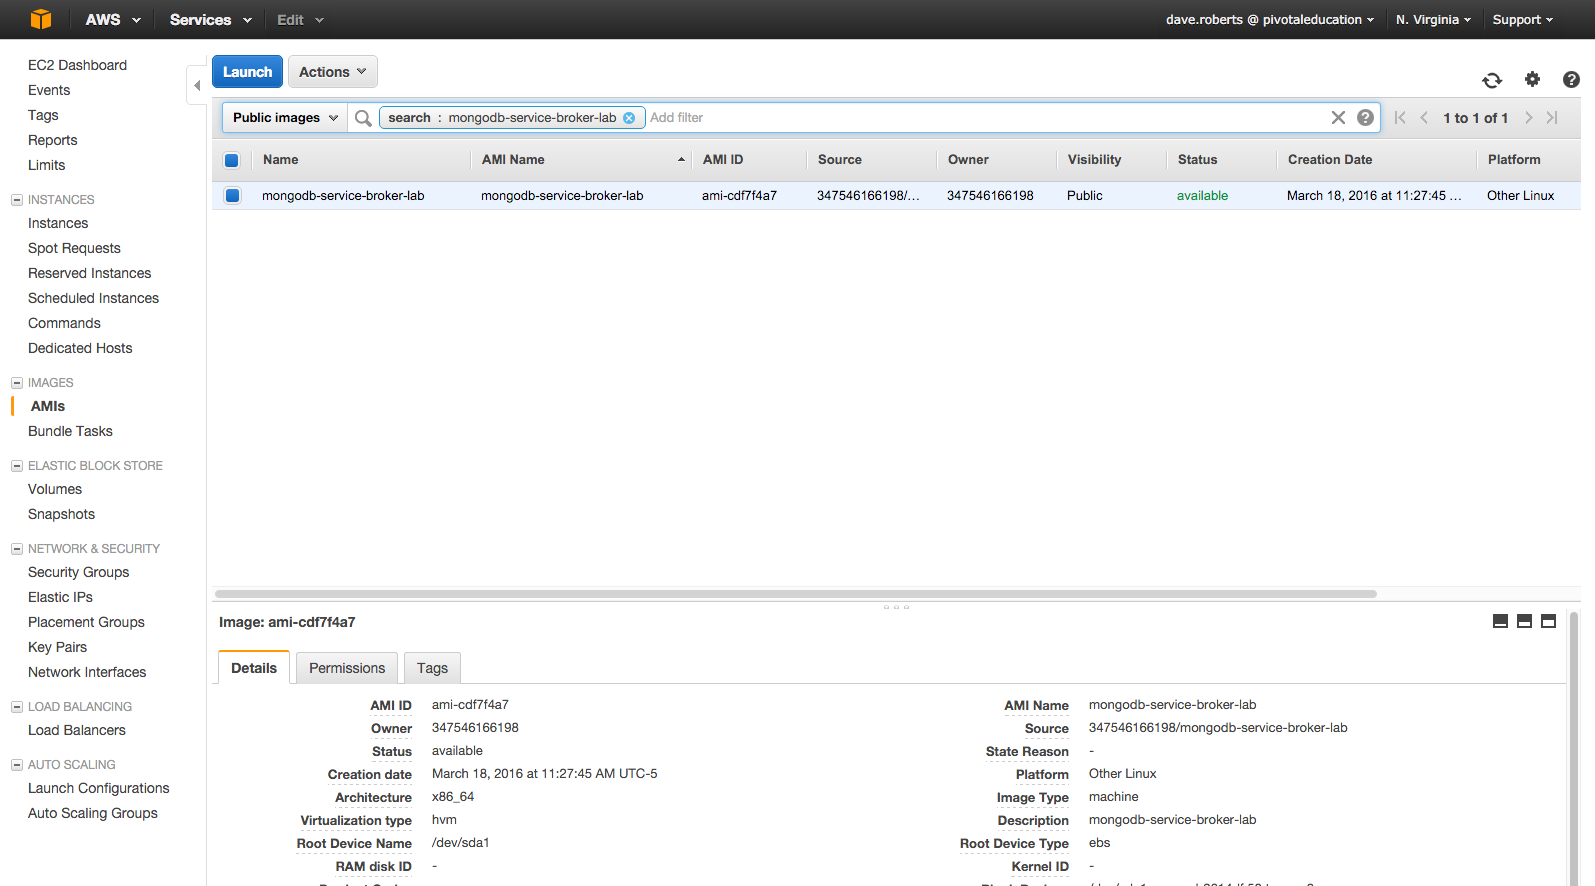
3.1. Provisioning Wizard
When launching, accept defaults except where specified.
3.1.1. Choose an Instance Type
-
Use
t2.large(8 GB memory).
E-learning Students: Please note that, though this instance type is not free-tier eligible, it is necessary for completing the service broker lab and the PCF Developer course. Costs associated with its use are negligible. Charges cease as soon as the instance is deprovisioned (the steps for deprovisioning are at the end of the lab).
3.1.2. Configure Instance Details
Auto-assign Public IP = Enable
3.1.3. Add Storage
Accept defaults
3.1.4. Tag Instance
Create the following: Key = Name; Value = {{yourname}}-mongodb-service-broker
3.1.5. Create a Security Group
Create a security group with the following rules:
Type = `ssh`
Protocol = `TCP`
Port Range = `22`
Source = `anywhere` (0.0.0.0/0)
Type = `Custom TCP Rule`
Protocol = `TCP`
Port Range = `27017`
Source = `anywhere` (0.0.0.0/0)
3.1.6. Review Instance Launch
Select your key-pair and launch the instance.
Once the instance is running, select it in list of EC2 instances. Obtain the public IP for use in the lab.
| Once your VM is running, in the EC2 console, right-click "Instance Settings" → "Get System Log", and then fish for the "application password" from the logs. You’ll need this password to authenticate to mongodb |
4. Accessing Your Mongo VM Remotely
SSH using your private key, the bitnami user and the public IP address of your VM.
For example:
ssh -i ~/.ssh/my-key-pair.pem bitnami@53.91.185.05. Managing MongoDB
5.1. Start MongoDB
sudo /opt/bitnami/ctlscript.sh start5.2. Stop MongoDB
sudo /opt/bitnami/ctlscript.sh stop6. The Mongo Shell
The mongo shell is also loaded on the VM. It can be accessed in the terminal by doing the following:
mongoOnce in the shell, you’ll have to authenticate. The username is root, and the password is the one you previously obtain from the VM system log:
use admin
db.auth('root', '<password>')