1. Create A Spring Boot Project
Visit the Spring Initializr at https://start.spring.io/
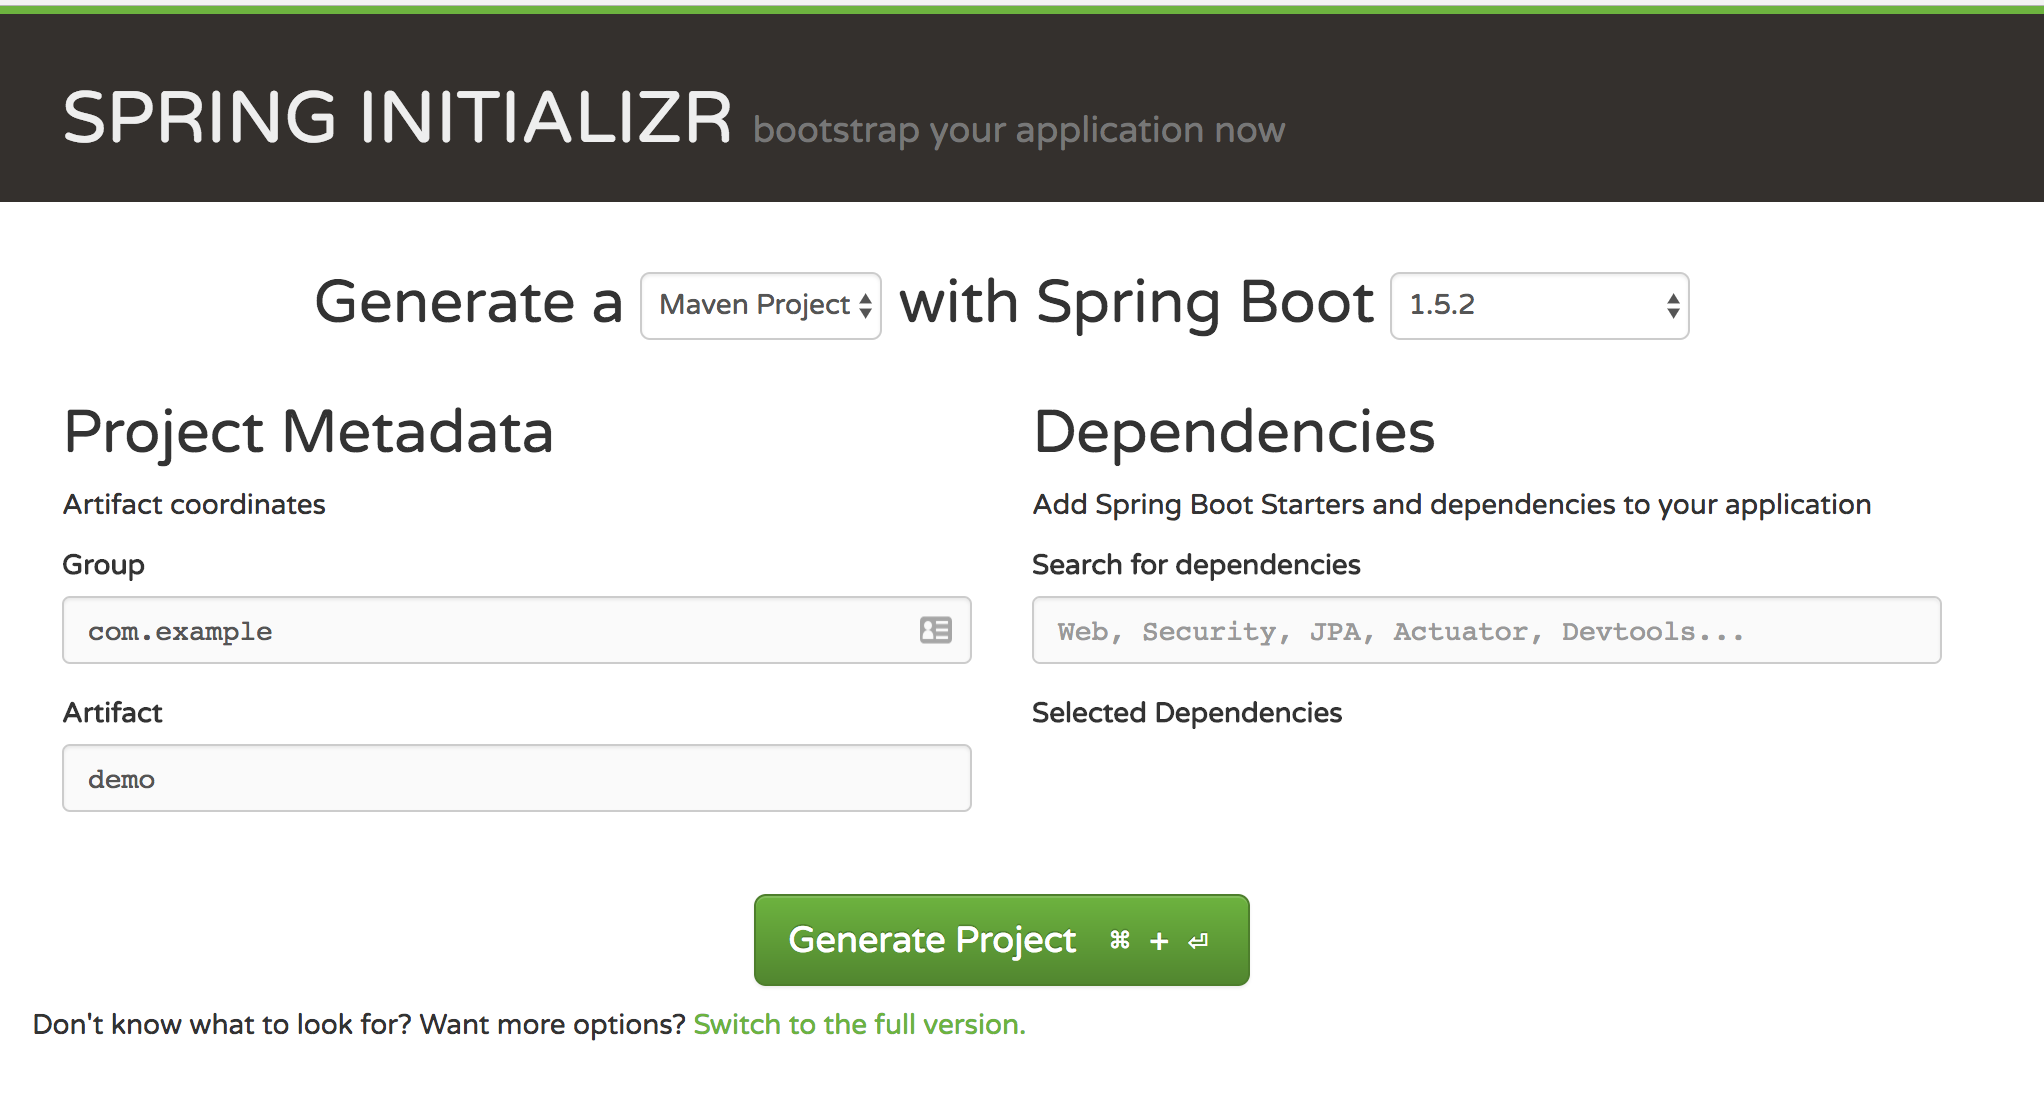
Complete the form as follows:
-
Generate a
Maven Project -
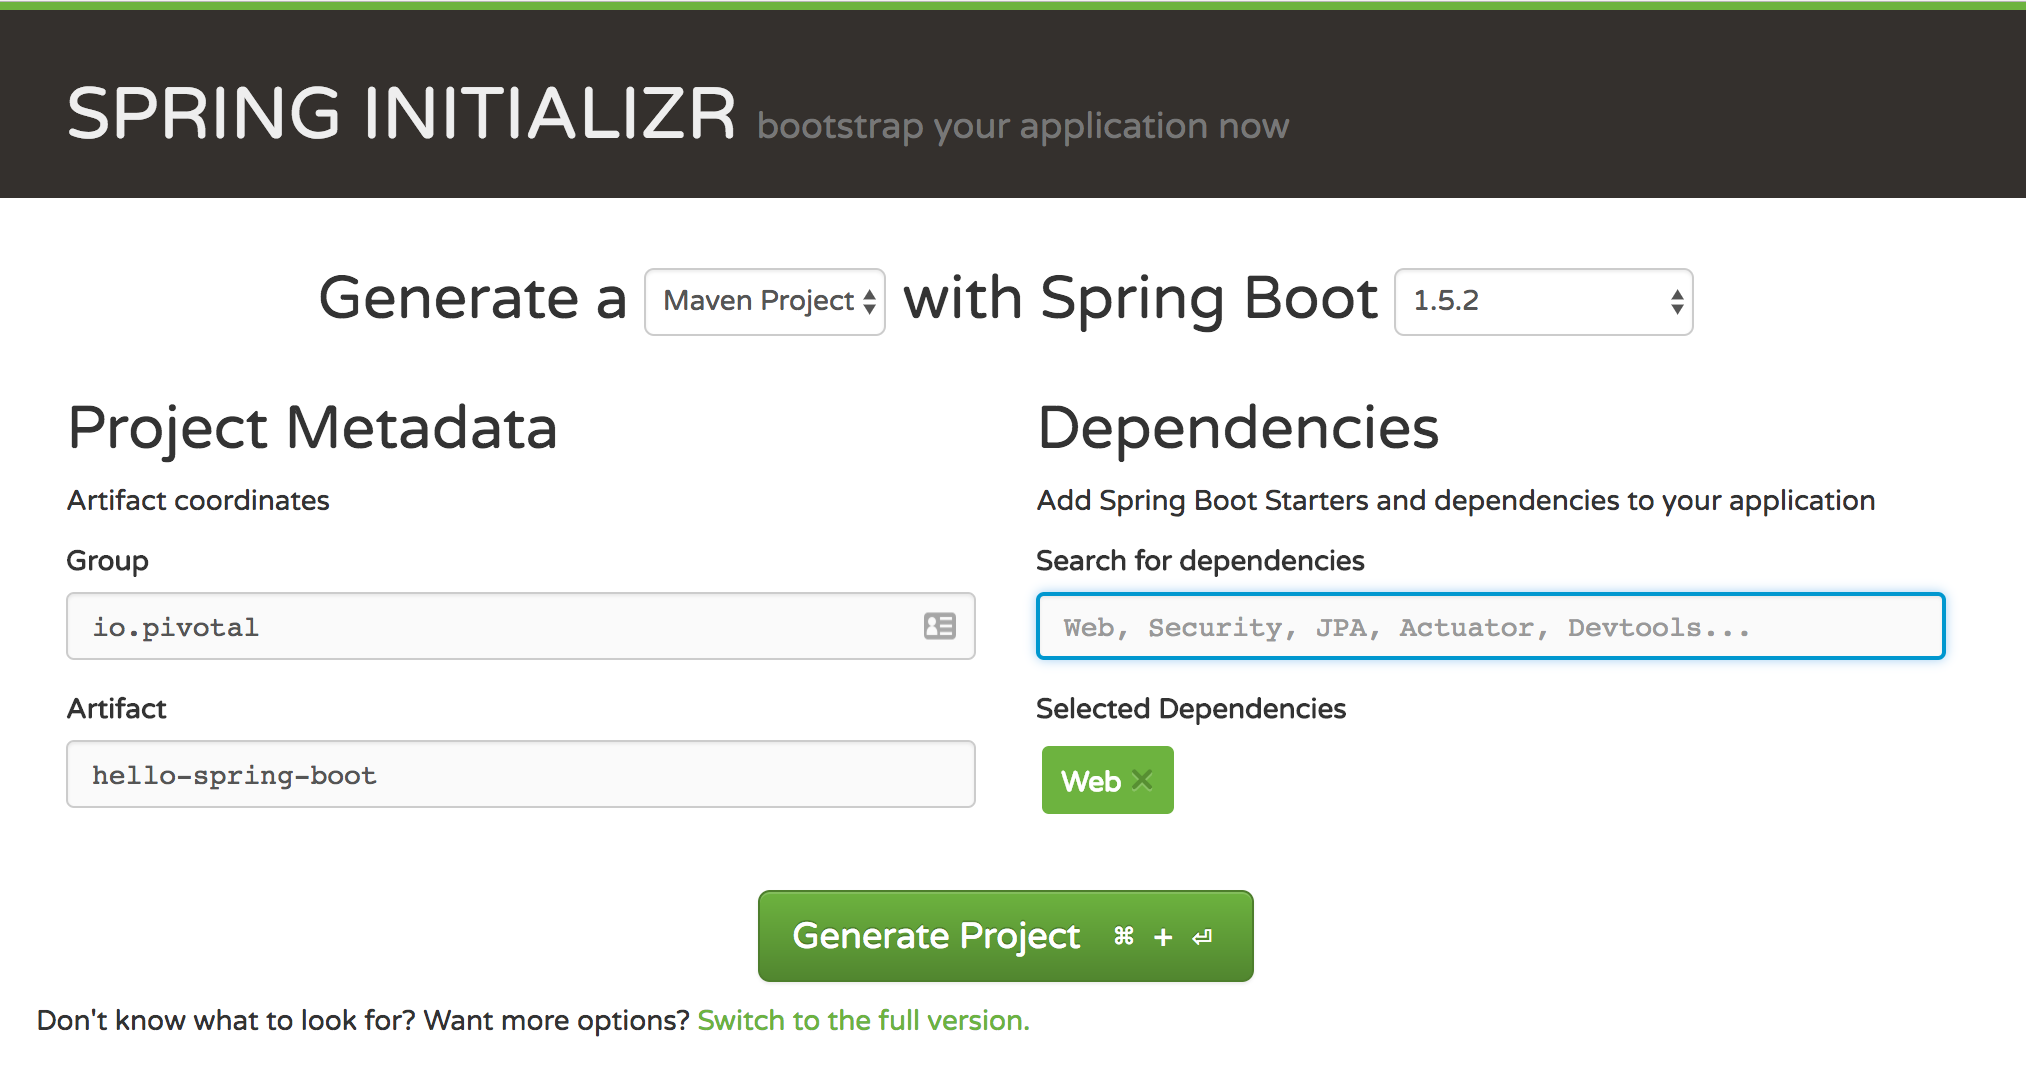
In the Project Metadata section, specify
io.pivotalfor the group id, andhello-spring-bootfor the artifact id -
In the Dependencies section, add the
WebdependencyThe completed form should look something like this:
-
Click the Generate Project button. Your browser will download a zip file.
-
Unpack that zip file into a working directory
-
Import the project’s
pom.xmlinto your editor/IDE of choice.
2. Add an Endpoint
-
Add a
@RestControllerannotation to the classio.pivotal.HelloSpringBootApplicationpackage io.pivotal; import org.springframework.boot.SpringApplication; import org.springframework.boot.autoconfigure.SpringBootApplication; import org.springframework.web.bind.annotation.RestController; @SpringBootApplication @RestController public class HelloSpringBootApplication { public static void main(String[] args) { SpringApplication.run(HelloSpringBootApplication.class, args); } } -
Add the following request handler:
@RequestMapping("/")
public String hello() {
    return "Hello World!";
}
The completed class should look like this:
package io.pivotal;

import org.springframework.boot.SpringApplication;
import org.springframework.boot.autoconfigure.SpringBootApplication;
import org.springframework.web.bind.annotation.RequestMapping;
import org.springframework.web.bind.annotation.RestController;

@SpringBootApplication
@RestController
public class HelloSpringBootApplication {

    public static void main(String[] args) {
        SpringApplication.run(HelloSpringBootApplication.class, args);
    }

    @RequestMapping("/")
    public String hello() {
        return "Hello World!";
    }
}
3. Run the hello-spring-boot Application
-
Open a terminal window and change to
hello-spring-bootdirectory:cd hello-spring-boot -
Run the application
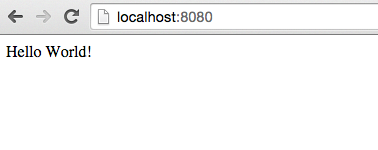
mvn spring-boot:runYou should see the application start up an embedded Apache Tomcat server on port 8080 (review terminal output):
2015-10-02 13:26:59.264  INFO 44749 --- [lication.main()] s.b.c.e.t.TomcatEmbeddedServletContainer : Tomcat started on port(s): 8080 (http)
2015-10-02 13:26:59.267  INFO 44749 --- [lication.main()] io.pivotal.hello.HelloSpringBootApplication     : Started HelloSpringBootApplication in 2.541 seconds (JVM running for 9.141)
-
Browse to http://localhost:8080/
Stop the hello-spring-boot application (press Ctrl+C in the terminal window).
Congratulations! You’ve just written your first Spring Boot application.