1. Introduction
At the moment, anyone can access the fortune service and greeting service. The goal here is to secure our application.
In this lab, we’ll:
-
setup an oauth-compliant OAuth2 authorization server named the UAA.
-
secure our fortune-service application, and
-
retrofit the greeting-ribbon-rest client to:
-
authenticate end users,
-
obtain from our end user authorization to fetch fortunes, and
-
retrofit http requests to the fortune-service to properly present our authorization token
-
2. Setup an authorization server
Download a UAA release. Unpack the zip file to a convenient location, and start the UAA:
$ cd {{uaa_base_dir}}
./gradlew run
Next, we need to configure the UAA with a user, their permissions, and client credentials for our greeting and fortune services. To do that, we can use the uaa client, uaac.
-
Install the uaa client with gem:
gem install cf-uaac -
Let’s first authenticate with the uaa as administrator, so we can create a user and two client credentials:
uaac target http://localhost:8080/uaa uaac token client get admin -s adminsecret -
Add the user:
uaac user add eitan --given_name Eitan --family_name Suez --email esuez@pivotal.io --password hell0 -
Add a group or scope (aka permission) to read fortunes, and make our user a member of that group:
uaac group add fortunes.read uaac member add fortunes.read eitan -
Add client credentials for the greeting-service, with ability to request permission to read fortunes:
uaac client add greeting-service --name greeting-service --scope openid,fortunes.read --authorized_grant_types authorization_code,refresh_token -s secret --redirect_uri http://localhost:8100/ -
Add client credentials for the fortune-service, the owner of the fortunes resource:
uaac client add fortune-service --name fortune-service --authorities fortunes.read,uaa.resource --authorized_grant_types authorization_code,refresh_token -s secret --redirect_uri http://localhost:8787/
Here’s a shell script that will run all of the above commands.
Ok, we’re all set to proceed.
3. Configure fortune-service as a resource server
-
Add pom dependency
<dependency> <groupId>org.springframework.cloud</groupId> <artifactId>spring-cloud-starter-oauth2</artifactId> </dependency> -
Add
@EnableResourceServerannotation:@SpringBootApplication @EnableDiscoveryClient +@EnableResourceServer public class FortuneServiceApplication { .. -
Create
src/main/resources/application.ymland configurefortune-servicewith its client credentials and the uaa’s token info uri (used to verify tokens):security: oauth2: client: client-id: fortune-service client-secret: secret resource: token-info-uri: http://localhost:8080/uaa/check_tokenAt this point we can verify that the fortune endpoint is now protected by spring security oauth.
To require fortunes.read permission to access our fortunes endpoint, we must provide a ResourceServerConfigurer bean, as follows:
package io.pivotal;

import org.springframework.boot.SpringApplication;
import org.springframework.boot.autoconfigure.SpringBootApplication;
import org.springframework.cloud.client.discovery.EnableDiscoveryClient;
import org.springframework.context.annotation.Bean;
import org.springframework.http.HttpMethod;
import org.springframework.security.config.annotation.web.builders.HttpSecurity;
import org.springframework.security.oauth2.config.annotation.web.configuration.EnableResourceServer;
import org.springframework.security.oauth2.config.annotation.web.configuration.ResourceServerConfigurer;
import org.springframework.security.oauth2.config.annotation.web.configuration.ResourceServerConfigurerAdapter;
import org.springframework.security.oauth2.config.annotation.web.configurers.ResourceServerSecurityConfigurer;

@SpringBootApplication
@EnableDiscoveryClient
@EnableResourceServer
public class FortuneServiceApplication {

  public static void main(String[] args) {
    SpringApplication.run(FortuneServiceApplication.class, args);
  }

  @Bean
  public ResourceServerConfigurer resourceServerConfigurer() {
    return new ResourceServerConfigurerAdapter() {
      @Override
      public void configure(ResourceServerSecurityConfigurer resources) throws Exception {
        resources.resourceId("fortunes");
      }

      @Override
      public void configure(HttpSecurity http) throws Exception {
        http.authorizeRequests()
            .antMatchers(HttpMethod.GET, "/**").access("#oauth2.hasScope('fortunes.read')");
      }
    };
  }

}
Note how the configure() method above uses an oauth2 expression to control access to endpoints.
4. Retrofit greeting-ribbon-rest
-
Modify server port: since the uaa runs on 8080, let’s move this service’s port over to 8100. Create a
src/main/resources/application.ymland in it place these declarations:server: port: 8100 -
Add pom dependency
<dependency> <groupId>org.springframework.cloud</groupId> <artifactId>spring-cloud-starter-oauth2</artifactId> </dependency> -
Add
@EnableOAuth2Ssoannotation to our Application class:+@EnableOAuth2Sso public class GreetingRibbonRestApplication { -
Modify the construction of our RestTemplate bean so that it returns a specialized OAuth2-aware version:
@LoadBalanced @Bean - RestTemplate restTemplate() { - return new RestTemplate(); + public OAuth2RestTemplate restTemplate(OAuth2ProtectedResourceDetails details, OAuth2ClientContext clientContext) { + return new OAuth2RestTemplate(details, clientContext); } -
Revise
GreetingControllerto inject an instance ofOAuth2RestTemplate:@Controller public class GreetingController { private final Logger logger = LoggerFactory.getLogger(GreetingController.class); - private final RestTemplate restTemplate; + private final OAuth2RestTemplate restTemplate; - public GreetingController(RestTemplate restTemplate) { + public GreetingController(OAuth2RestTemplate restTemplate) { this.restTemplate = restTemplate; } -
Configure
application.ymlwith client id, secret, and uaa endpoints to authorize and fetch token:server: port: 8100 security: oauth2: client: client-id: greeting-service client-secret: secret access-token-uri: http://localhost:8080/uaa/oauth/token user-authorization-uri: http://localhost:8080/uaa/oauth/authorize scope: fortunes.read,openid client-authentication-scheme: form resource: userInfoUri: http://localhost:8080/uaa/userinfo
5. Start 'all the things'
Ok, we have a uaa running on port 8080. As usual, let’s start config-server, service-registry, fortune-service, and greeting-ribbon-rest.
-
Verify that you can no longer visit the fortune-service without proper authorization
-
Visit the greeting-ribbon-rest app on its new port, 8100: http://localhost:8100
-
Verify that you’re redirected to the uaa to authenticate
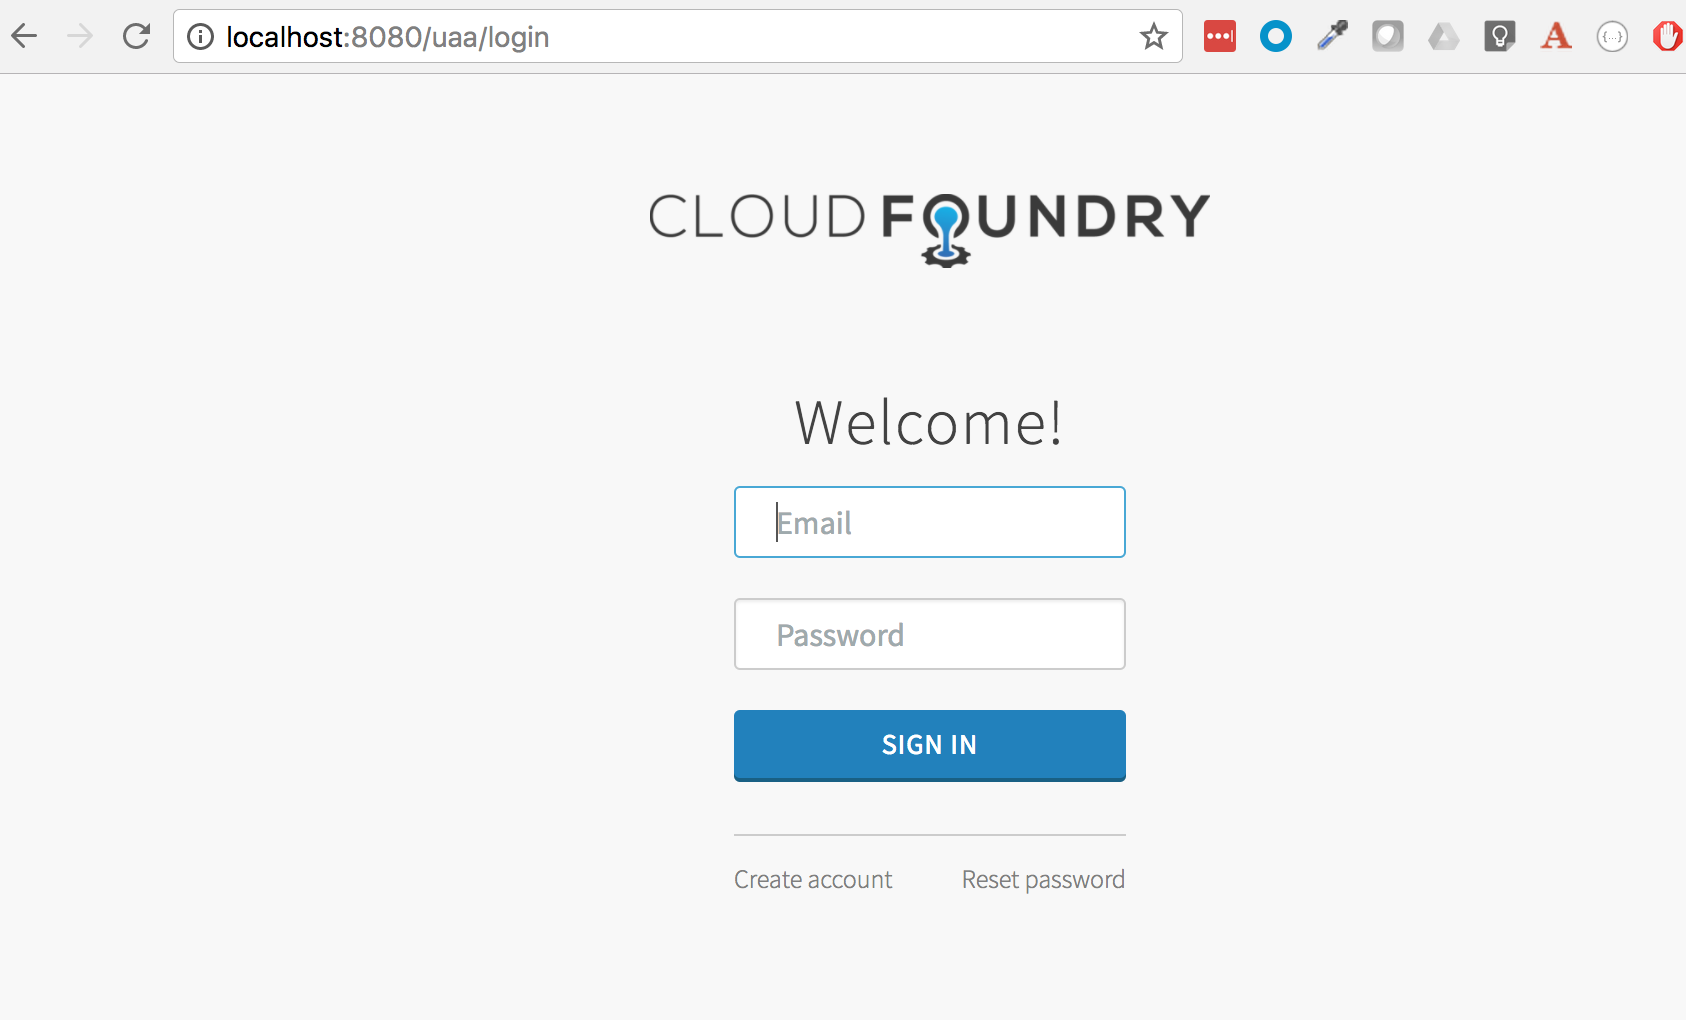
-
Enter our user’s credentials (eitan/hell0) and click Sign In
-
Verify that you’re now prompted to authorize our greeting application to fetch fortunes from the fortune service. Your screen should resemble this:
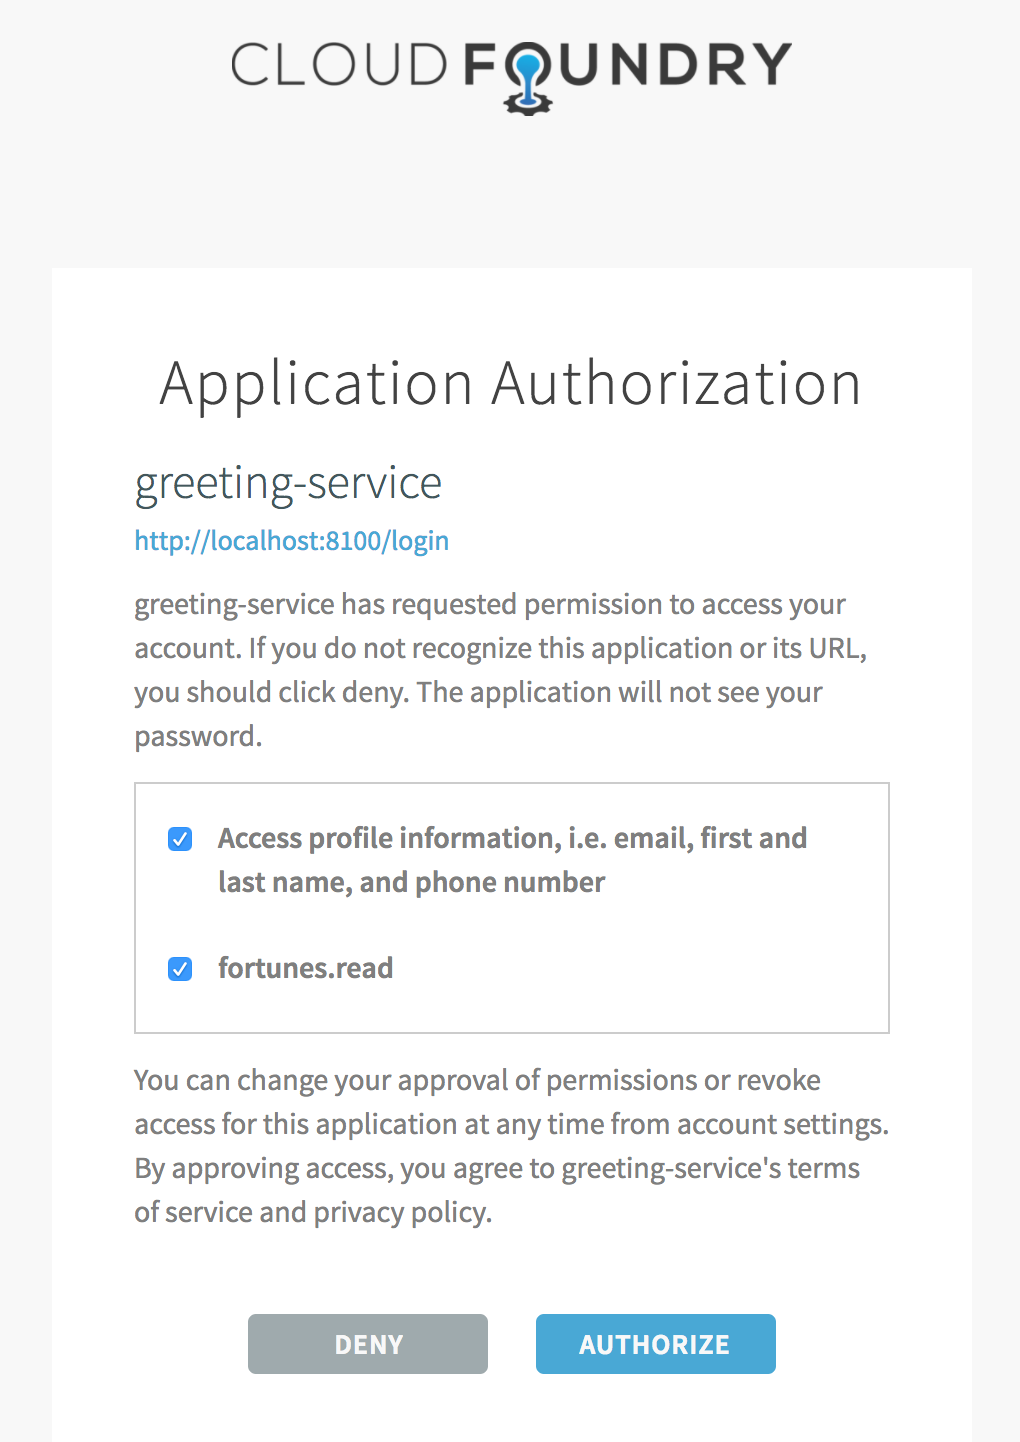
-
Proceed to authorize our application.
This triggers a number of subsequent steps: the greeting app is given an authorization code that it uses to fetch a token. This token has the "fortunes.read" scope (i.e. "permission") embedded in it. The greeting app now turns around and calls the fortune service, passing the authorization token in the http header. The fortune service is now able to validate that token and authorize access. In this case, the fortune service uses the check_token uaa endpoint to validate the token (the uaa supports other token validation mechanims, namely jwt, which does not require going back to the authorization server).
In the end, all we see is the results of the call to fortune service making their way onto our rendered page, as before.
6. Under the Hood
Let’s manually validate some of the actions that take place behind the scenes. The UAA comes with a command line client named uaac that we can use to interact with the authorization server.
-
Let’s obtain a token on behalf of the client greeting-service. Here, we use the
authcodegrant type:uaac token authcode get --client greeting-service --scope fortunes.read,openidAfter obtaining the token, we can view it (we’re looking for the access token):
uaac context eitan -
Next, let’s check the token against the uaa, like so:
curl -X POST -u fortune-service:secret http://localhost:8080/uaa/check_token -d token={{token}}The response should resemble this:
{ "user_id": "00a3f31a-5910-4c89-815a-9de0f79c5a0b", "user_name": "eitan", "email": "esuez@pivotal.io", "client_id": "greeting-service", "exp": 1492680942, "scope": [ "fortunes.read", "openid" ], "jti": "d86043b2e5e2468694e45ddfaf770aee", "aud": [ "greeting-service", "openid", "fortunes" ], "sub": "00a3f31a-5910-4c89-815a-9de0f79c5a0b", "iss": "http://localhost:8080/uaa/oauth/token", "iat": 1492637742, "cid": "greeting-service", "grant_type": "authorization_code", "azp": "greeting-service", "auth_time": 1492636728, "zid": "uaa", "rev_sig": "6c1a172", "nonce": "fb106f01fa701233a30e3339d406af84", "origin": "uaa", "revocable": false } -
Finally, we can use that token in an http header to directly access the fortune-service:
curl -v http://localhost:8787/ -H "Authorization: Bearer {{token}}"And here’s the response:
You learn from your mistakes... You will learn a lot today.
Congratulations! You’ve completed this lab.